Installation · Overview
Two people, hand tools, about 2.5 hours.
The parts lock together: no welding, no anchors, no damage to the floor. The manual and our video-call support are with you throughout.
- 2
- people
- ≈2.5 h
- installation
- 40 min
- dismantling
- 0
- anchors · welds
- 11
- panels · 66 wheels
- 4
- motors · 24 V
What is in the crate
Six part groups. All numbered.
Hub and ring
Tapered-bearing hub, 8 arms, inner and outer arc plates.
4 drive stations
24 V motor, drive wheel and stop — bolted to the ring in a cross.
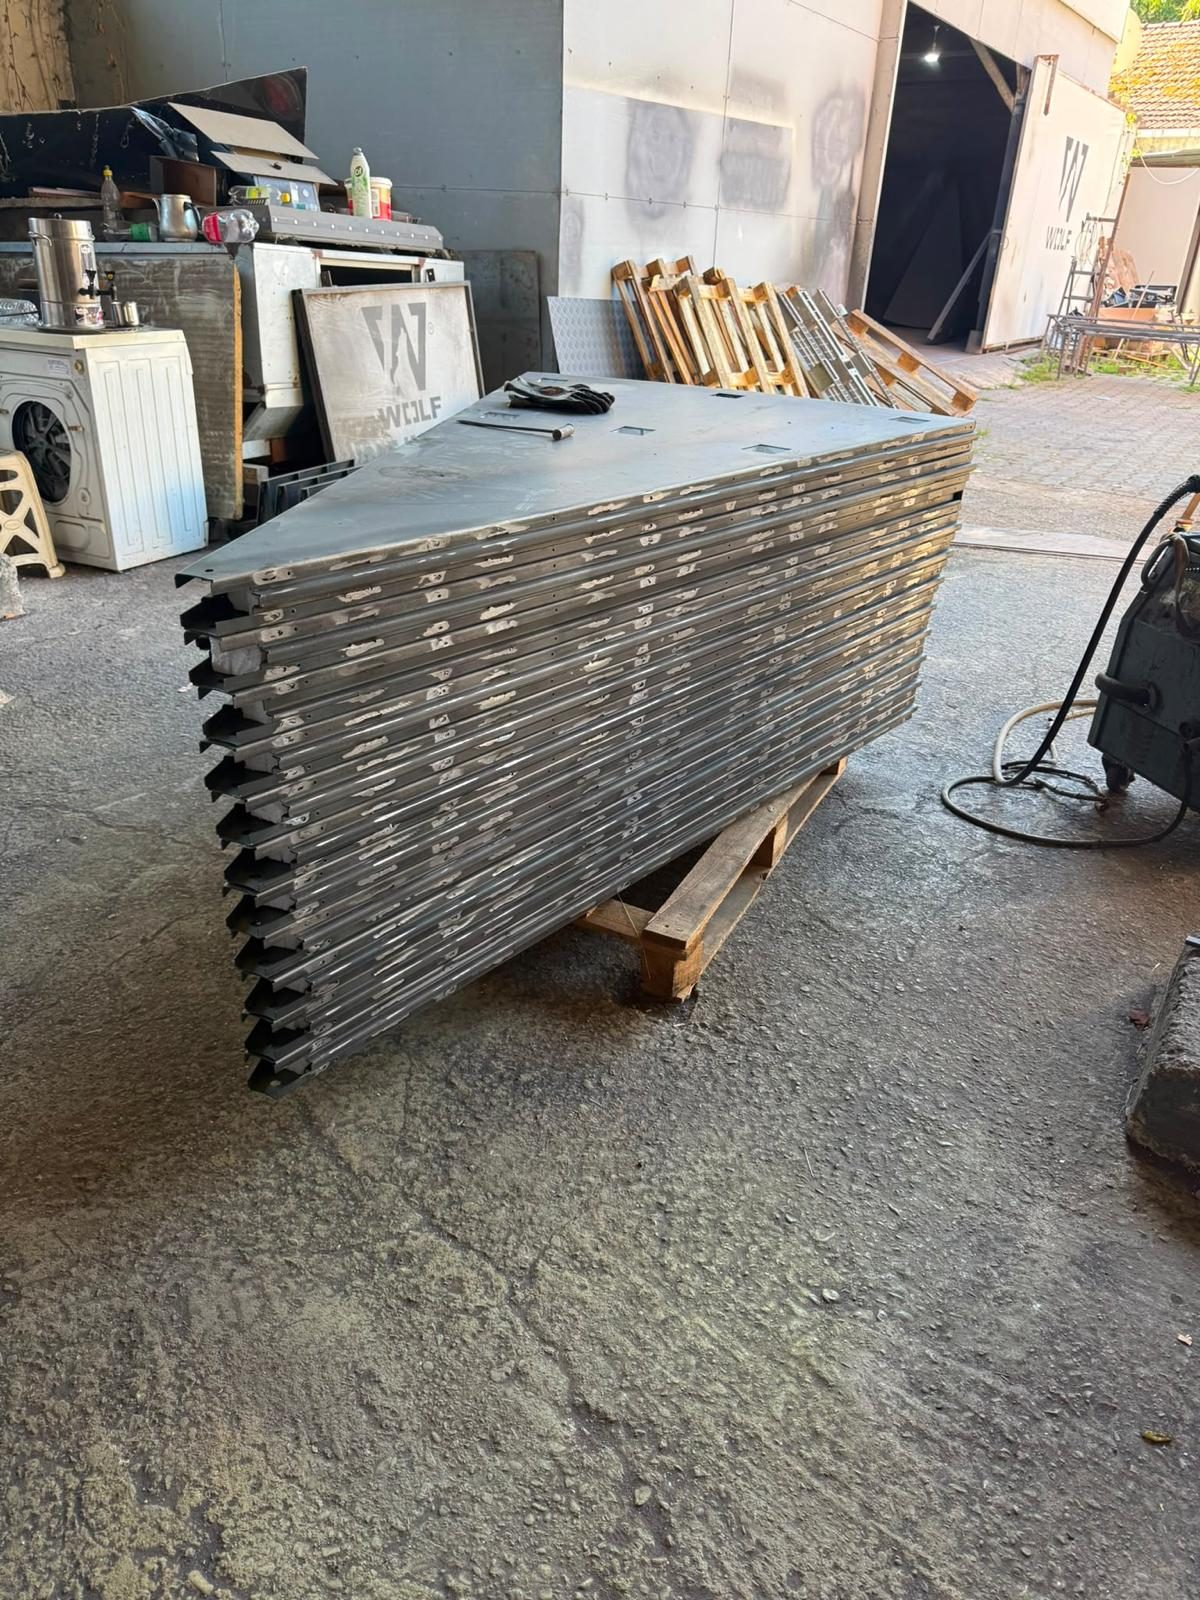
11 triangular panels
Nine male–female, one male–male, one female–female that closes the ring. Six wheels under each.
Edge ramps
A reinforced ramp on the drive-on line; standard ramps around the rest.
Control panel and remotes
220 V wall panel: LCD, speed and direction, emergency stop. 2 Bluetooth remotes, 8 m range.
Tools needed
Hex key, screwdriver, 13 mm spanner. That is all.
In five steps
From the hub to the ramps, inside out.
- 01
Step 01
The spot
A flat 6 × 6 m area; at least 3 m from the hub to the wall. Concrete, epoxy, tile or marble — no anchors, no excavation.
CheckAll parts are checked against the inventory.
Top view · to scale
Side elevation · to scale
- 02
Step 02
Hub and ring
The bearing seats in the hub. Eight arms bolt to the hub, the arc plates to the arms; the ring is complete.
CheckThe hub plate must sit without play.
- 03
Step 03
Motors
Four drive stations bolt to the ring in a cross (4 × 90°). Wheels are aligned with the ring; stops are tightened with the 13 mm spanner.
CheckEvery wheel must fully touch the ring.
- 04
Step 04
Panels
Eleven triangular panels lock together from the hub outwards: male–female panels first, the female–female one closes the ring. Hub cover last.
CheckNo height difference between panels.
- 05
Step 05
Ramps and power
The reinforced ramp goes on the drive-on line, standard ramps around the rest. Motor plugs into the control panel, panel to 220 V; remotes are paired. First turn is done empty.
CheckRed to plus, blue to minus; reversed polarity turns the wheel the wrong way.
Dismantling & moving
Down in 40 minutes, moved in the same crate.
The same steps in reverse. When the showroom changes, the platform comes with you; the floor stays as it was.
Who installs it?
You install it; we are on the line.
Two people, hand tools
A hex key, a screwdriver and a 13 mm spanner are enough. No technical training needed.
Video-call support
We stay on a video call during installation; afterwards, questions are answered within one working day.
Illustrated manual
Every step with photos and checkpoints. It ships in the crate and can be downloaded as a PDF.
Your showroom is next.
Buy once, use for decades. Create your order or message us on WhatsApp.